
Since I'm stuck at home with the flu and TN was slammed with it's 3rd snow storm in 3 weeks, I passed some time this afternoon snapping pics from our honeymoon scrapbooks. I am so glad I went ahead and got these books made right away (there's 3 12x12 albums total) - I know I will enjoy looking at these books for years to come! I incorporated several of the Project Life page protector designs with my traditional 12x12 layouts and LOVE the finished products!
 |
| I wish the stickers were more prominent and this isn't my favorite title page ever but I thought these Jolees stickers were too cute to not use. |
 |
| I carried the "Day X" theme throughout the book |
 |
| These envelopes from Becky Higgins products are one of my favorite finds ever! I used this 12x12 one to hold our travel plans and other related documents that I wanted to keep. |
 |
| This is design B in the Project Life (PL) brand of protectors. The 2 journaling cards are from the Blush core kit. |
 |
| This was right after we landed in Tahiti after traveling for almost 24 hours! I collaged the middle pic at the top to fit 3 pics into one 4x6. Again, this is Design B. |
 |
| This is an 8x10 protector and I had the pic developed at 5x7. I added white thickers for the letters and some little flowers with brads for embellishments. |
 |
| I find Design P to be one of the trickiest for me to use -- I don't Instagram and haven't figured out how to print my picstitch pics as a square so I just found pics that could be cut down to match the squares on the front and back. |


 |
| Design B again. I collaged most of these pics, printed them as 4x6s and then cut them apart to fit into the 3x4 slots. To decorate the journaling cards, I made the boats with my Cricut. These jounaling cards are also from the Blush core kit. |
 |
| The looks of this layout make it one of my favs. I love that I was able to incorporate the magazine article with info about Moorea and also the map into 2 of the slots. |
 |
| Design H with thickers for a little sparkle. |
 |
| I printed my journaling onto vellum and pinned it down with some brads. |
 |
| "Fantasy Island" was cut with the Life Is a Beach Cricut Cartridge. |
 |
| "Summer of Love" was cut with the Life is a Beach Cricut cartridge. The handprint pic is printed as a 5x7 to make it stand out a little more -- Love this picture! |
 |
| Another 8x10 page -- these work great when there's only 1 picture to highlight. I ordered the pic as a 5x7 and then decorated with cuts from the "Life is a Beach" cartridge. I decorated the pineapple drink with stickles. |
 |
| Design G is one of my favorites to use. Mainly because it's one of the only PL protectors that incorporates both vertical and horizontal 4x6 picture sizes. |
 |
| Quite a few of our fav pics were panoramics. After playing with the options in Shutterfly, I figured out how to print them as either 2 or 3 4x6 pics and then lined them back up as one long picture on my pages. |

 |
| "All Dolled Up" and all of the bows were cut from the Once Upon a Princess Cricut cartridge. |
 |
| Design F -- Love how this front/back turned out! I was able to use a lot of the pics from the Soiree without taking up multiple pages. I cut the little hula girls from the Life is a Beach Cricut cartridge |


 |
| Design I is 3 4x4 squares. |
 |
| The back of Design I |


 |
| Design J with journaling cards from the Amber Core Kit. The colors in the Amber Core Kit worked out great with our pics! |
 |
| The back of Design J - this sentiment card is from one of the Recollections products at Michaels. |
 |
| So I know this layout isn't that fancy/special but can I just say I'm in LOVE with the yellow thickers?! Something about these exact ones just makes me smile! What a fabulous pop of yellow. |
 |
| Yep... more of my yellow thickers. In love! How cute are these little bananas I made with the Cricut too?! I thought this background paper was perfect -- looks very bamboo-ish which is what is in the middle pic at the top. |
 |
| The back of a 5x7 vertical page protector. Adventure cut is from the Life is a Beach Cricut cartridge. |
 |
| Front of the 5x7 vertical page - pic is printed at the same size. |
 |
| Design G - Accent/Journaling cards are from the Amber Core Kit. |
 |
| This is the back of Design H -- I used one of the cards from the Cat theme pack in the Project Life cards for my journaling. |
 |
| The snorkeling girl is something I purchased YEARS ago and one of those that you glue the pieces together (pre-Cricut!). "Little Mermaid" was cut from the Life is a Beach Cartridge |
 |
| How fun is this 6x6 envelope to hold their local currency?! I'm undecided about adding a journaling card because I think it will block the coins. |
 |
| The back of Design H with cards from the Honey Core Kit |
 |
| Design H - Card from the Honey Core Kit and pink thickers |
 |
| The back of Design H and a sentiment card from the Recollections brand products at Michaels |
 |
| A traditional 12x12 page with an 8x10 photo. The palm trees were made into the paper but I used a blade to cut the leaves loose to make it appear 3D. The stickers are a MAMBI product from Michael's/Hobby Lobby |
 |
| These stickers are Jolees |

 |
| By far, one of my favorite pictures. It just captures the Honeymoon perfectly. |
 |
| Then it was off to Bora Bora! This is Design A and probably the most popular PL layout. |
 |
| LOVE this 2-page spread using Design A! I had an "ah-ha" moment when I realized Bora Bora was 8 letters I knew I had to make this work! The journaling cards are from the Amber Core Kit. The white chipboard letters are from Hobby Lobby. |
 |
| The back of Design A |
 |
| Design B with a twist on the pic -- I ordered one horizontal 4x6 as 2 vertical 6x4s to fit into 2 of the 3 vertical slots. The journaling card is from the Blush Core Kit and I added the fish stickers. |
 |
| The back of Design B with the same concept applied to two of the pictures in this layout as the one before. I added some stickers to journaling cards from the Honey core kit. |
 |
| Design D |
 |
| The back of Design D |
 |
| These little scuba embellishments are from one of those scrapbook-page-a-day calendar things. I use to always buy 1-2 per year but just have so much to use up I haven't bought lately -- they've been a great investment though and I love that there are things to use for practically every event/holiday! |
 |
| I can't remember what brand these little embellishments are that I used - probably Recollections or Jolees. The letters down the sides are fabric covered thickers. |
 |
| This is another page from the scrapbook calendar |

 |
| You can see several sizes of protectors peeking out here -- I like the layered look |

 |
| Another Design G -- I used the Cricut to make the little water guy - He's from the Create a Friend Cartridge. The cards are one from the Blush Core Kit and one from the Honey Core Kit |


 |
| Phrases cut from the Cricut Phrases cartridge |
 |
| Design C always feels like a cheater page to me but it's sooo simple! Sometimes there's just not much you can do with pics and this is a great layout to use to get a lot on a page |


 |
| These military pages were in the scrapbook calendar too and it's funny because I didn't think I'd ever have a use for them! They worked perfect with the cannons on Bora Bora |

 |
| A fun and simple 2-page spread with a panoramic photo from the iPhone. The little sailboats were cut with the Cricut |


 |
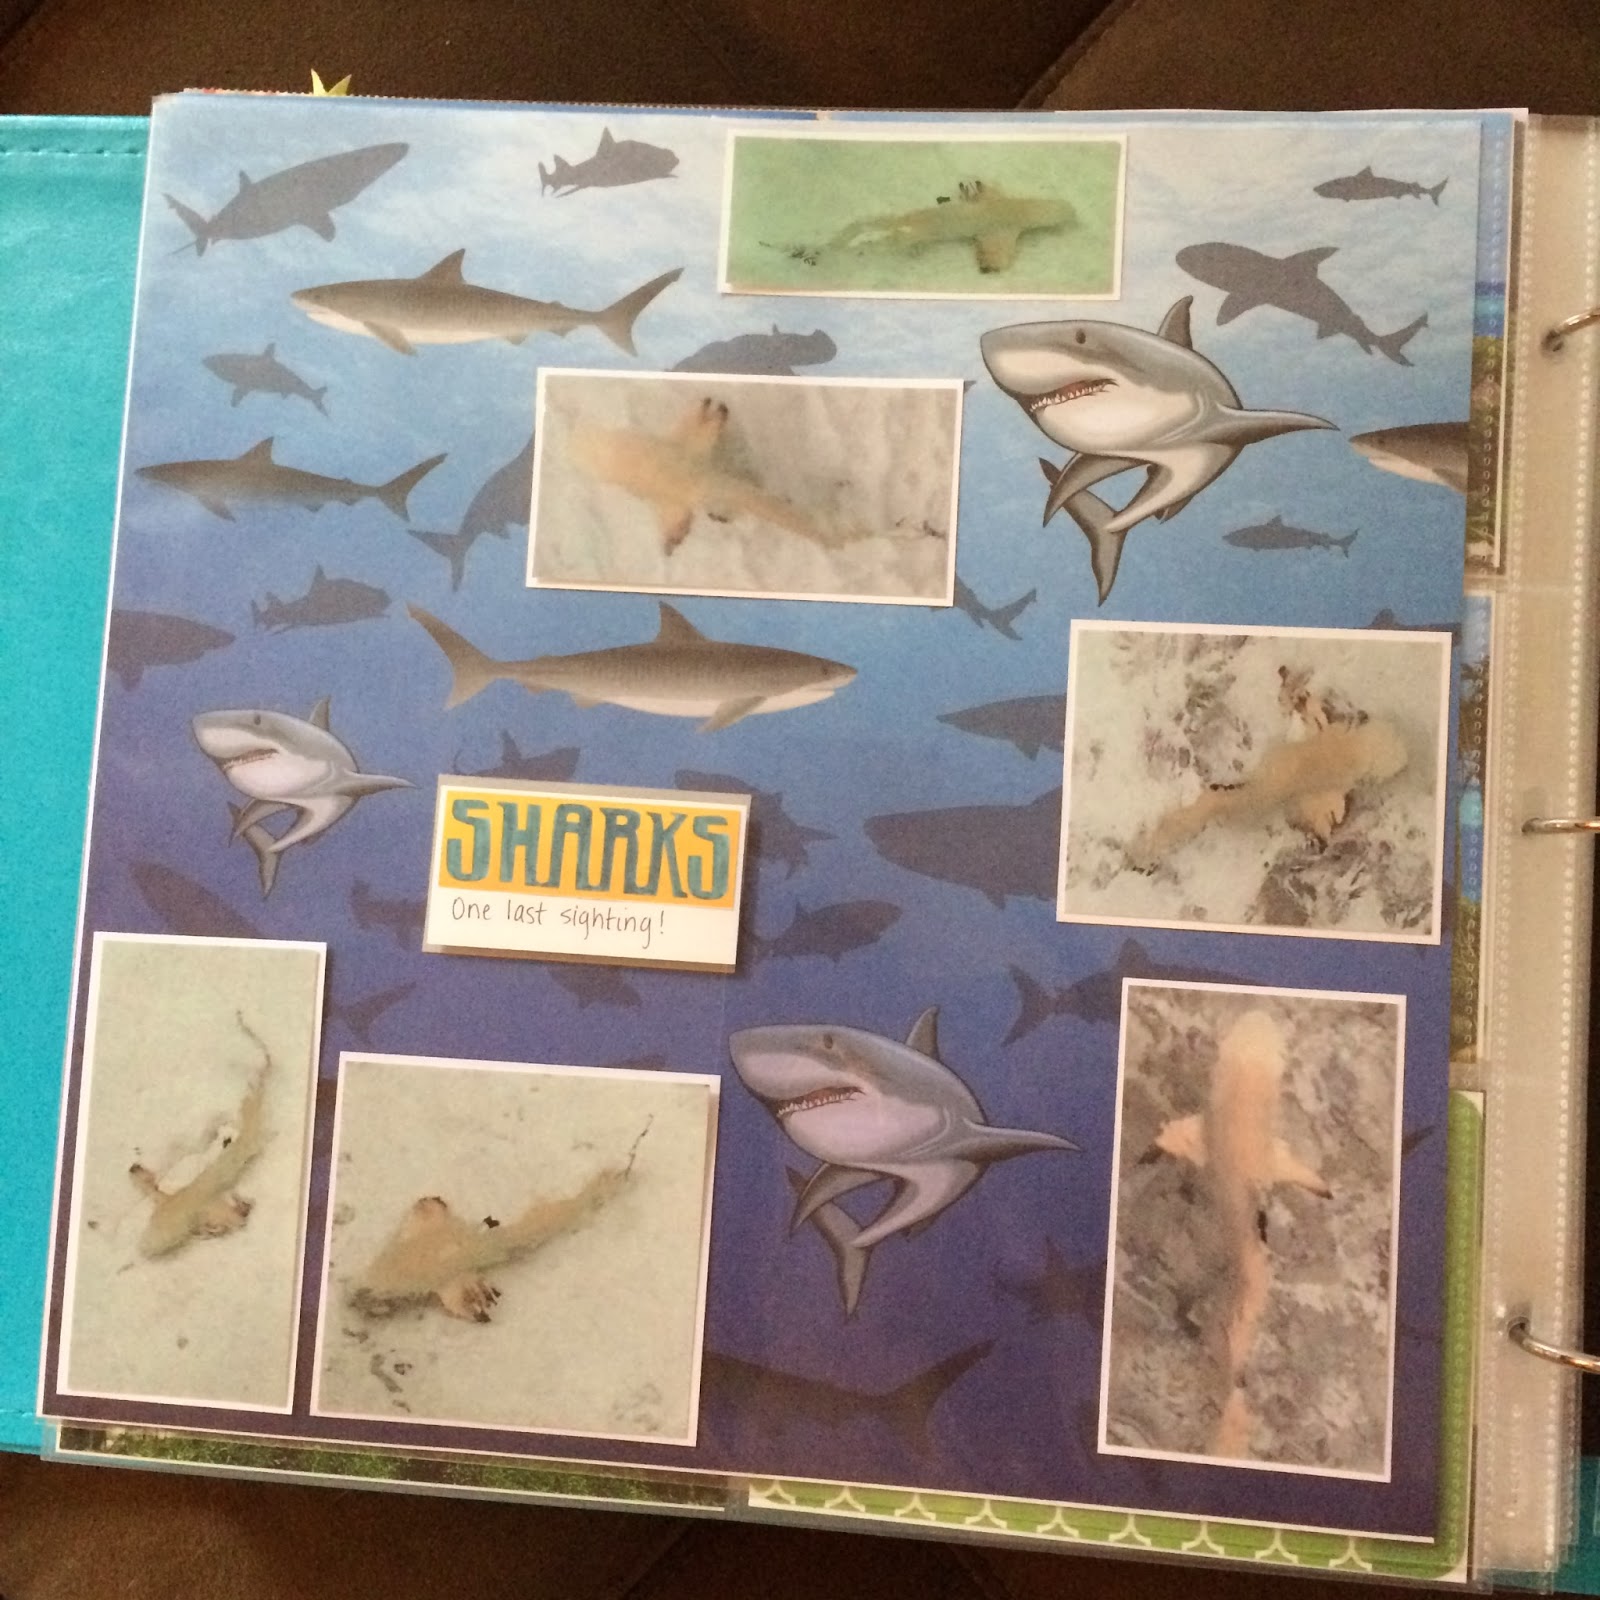
| ...and the last page! |
I hope you enjoyed! I know this post was picture overload but I wanted to share how I incorporated the Project Life pages and Core Kits into traditional scrapbooking.