Showing posts with label Organization. Show all posts

Monday, December 14, 2015

Bathroom Under Sink Organization

It's hard to believe that come February, we will have been in our house for FIVE years.  Several areas definitely reflect that and have become major catch-alls!  Other areas, I don't think we are best utilizing the space.  One of those catch all/under utilized areas is under my husband's sink.  He has very few products that he requires each day and most fit in a basket (that's supposed to be loaded up and dropped back under the sink each morning but hardly ever happens).  But since he has so few items, I have re-purposed the area for other items.  

Here's a quick look at how it looked when I finally had enough of the mess:

Husband's side of the vanity

Site for sore eyes.  The only thing really working in this cabinet is where I store my washcloths for quick daily grabs (twice a day actually).  I also store the bathroom cleaning products under his side and that hot pink basket is a major catch all. 

I took most items out and gave it a quick wipe down.  I decided to leave the current shelving in place because it's working for the most part, esp. since you can remove/move around the slats.

The after.  I put away 90% of the items that had collected in the hot pink basket to their appropriate places around the house (jar of buttons to the sewing kit, various medical things to the medical baskets, fitbit accessories to the rest of the iPhone/device storage bin, etc.) and repurposed the basket to corral all of the cleaning supplies.  Now we can just pop out the basket when it's time to clean the bathroom vs fishing around under the sink.  The top shelf holds various items that are used in the bathroom at a least frequent basis. 

There's still plenty of space to pop in my husband's daily basket of items too. 
This took me about 30 minutes to straighten up and for sure, looks much better!  I'm slowly making my way through the house... one messy room at a time. 

Thursday, December 10, 2015

Project Life Card Organization

My love for clear containers multiplied last night.  I have been on the hunt for a way to better organize and use my Project Life cards.  I was storing them in my Ikea shelves but I found that to be too much of a hassle because I would be in and out of the different core kits and it was just easier to leave them in a pile in the floor for easy access.. see below

While this was somewhat easier, it still isn't ideal - I don't want the big pile in the floor AND Project Life changed the style of their packaging so now the cards just come in the flimsy tray (see the kit on the top) vs in the nice cardboard box which presents problems with stacking. 

So, I turned to my friends Bed Bath and Beyond and The Container Store.  Since we don't have a Container Store here, my first option was Bed Bath and Beyond.  They had one clear hinged box I thought would be perfect but when I got it home, turned out to be about 1" too short to clear the cards (I want them to be standing up in the boxes).  However, I loved those boxes so much I used them in my bathroom cabinet to give that room a refresh - I think clear boxes are always the way to go!  I need to do a few more tweaks and I'll share an updated look at this cabinet too.  LOVING the clear containers though. 

Since I ended up with an additional 6 containers that didn't solve my Project Life problems, I turned online to The Container Store.  I had a couple reservations with ordering 1) you have to spend at least $75 to get free shipping; 2) I'd be guessing more or less on the products since I couldn't actually see them in real and 3) I'll have to go to Atlanta or Nashville to return (not paying the fee to mail back!) if they don't work.

I settled on 2 different style boxes and placed my order... the next day, I had shoppers remorse and did some online research to see how others organize their cards.  Not many people use completely clear containers and that's really what I was after.  I finally stumbled on a quick youtube video where the lady had used the large shoe storage drawers from The Container Store!  I headed back to the website and placed another order for 6 large shoe boxes and also the dividers (sold separately).

My first order arrived Monday and it was obvious that the products weren't going to work.  I had a complete miss with that order.  Last night, my second order arrived and the stars aligned!

The drawers are such a nice clear, sturdy container and they slide very nice and smooth on the tracks.

 (ignore the mess in the back!)


 Here's a shot of the dividers - I love that you can use them 3 different ways. I chose to section them off side to side and keep a complete core kit together in one section (4x6 cards and 3x4).  They fit perfectly and have room to flip through the cards as well. 


 I added a post it tab to label which core kit is in each section.


 The stack of empty core kit boxes I was asble to transition to the clear boxes! 

 I'm pretty sure the boxes will live like this on the corner of my scrapbook table for easy access.  I do need probably 2 more to fit the rest of my core kits as well.  I also noticed that when the top drawers are completely extended it gets top heavy.  I may stack my pen/scissor/foam mounting supply box on top to serve as an anchor.  


Now I'm itching to get up there and try out my new system.  In the meantime, I can enjoy my eye candy! 

Sunday, August 30, 2015

Under Sink Declutter

Ever have an urge on a Saturday night to clean out a cabinet? No?  Well.. sometimes I do and I had the perfect spot -- under the kitchen sink!  We keep most of our cleaning supplies under this sink and it was starting to pile up!

Here's the guilty cluttered cabinet

Everyone loves a good before picture...

I took everything out and sorted into type of product/type of cleaner

Cabinet with almost everything out -- the extra swiffer cloths and kitchen trash bags are still working for us in this back corner.  I took time to wipe out the cabinet and each of the baskets.

Everything put back away! 

I did add some additional storage containers I just had as extras that weren't being used to break down the categories.  From the left in the white basket we've got Lysol wipes, Windex, all purpose cleaners and air freshener sprays.  The pink basket has stainless steel cook top cleaners.  The clear shoe box behind the middle bar has all the wood product cleaners.  Then there's a row of dish type products.  The little shallow tray has garbage disposal cleaners and Goo-Goo gone products.  I also keep potatoes in this cabinet -- just really don't have a better option!  

I found a few things that didn't belong in here (plant food and plastic ice cubes) and tossed some other items and am really pleased with how it turned out!  Plus, it took only 30 minutes, tops.  Now, I'm inspired to find some other problem areas in the house!

Wednesday, January 7, 2015

New Year, New Organization Mojo! Shoe Organization

What is it about January that just makes everyone want to rip things out of cabinets, drawers and dark corners and get some order?  I know it's not just me because bloggers and Targets everywhere are showcasing organization tips, storage bins, and everything that just makes my heart race fast!!  I spent my Friday evening wondering up and down the storage aisles at Target checking out the latest must-haves in storage containers... yep, that's right, that was my exciting Friday night and I love it. For as long as I can remember I have had a love affair with all things storage - just.can't.get.enough.  I would be in serious trouble if there was a Container Store here.  I even have a storage container of extra storage bins in my basement!  Maybe I should join a support group? Ha!  But anyway, there's a point to this post.

I thought I would share one of my latest organization projects - shoes!  Like many gals, I have a love for shoes, I also have a limited amount of space for shoes.  My current closet is the smallest I've had in a while and I'm also sharing with hubby so I have to be reasonable in how much space I take over so I've gotten creative.  Here's some pics of the closet the day we moved in - the shoe cubbies are actually on the way behind the door to the left - I didn't snap a pic of that part of the closet in the "before" pics.


This was my closet in Baton Rouge - it was the perfect spot for my shoe cubbie!!  This is two units stacked together.


I'm still utilizing my shoe cubbies that have now found homes in all my houses over the last couple moves but I have too many of flats, tennie shoes and flip flops for the cubbies.  The cubbies only house my pumps.  Let's start with a little before picture... it isn't pretty.  I have this awkward spot in the corner that really was just a catch all for shoes.


So my first attempt was to get 4 of the individual Sterlite drawers that stack from Wal-Mart for my flip flops (they are sorted by color).  I left my flats in a basket on top of the drawers.
  I didn't take the labels of the drawers for a few weeks as a trial run to see how I liked this arrangement.  After giving it a go, I decided it was a success!

The existing cubbies

 
I added another drawer for flats and some pink labels 


I am not a fan of the wire shelving that's in our closet.  I go back and forth with putting the expense into redoing our whole closet system and may eventually do it.  I decided to buy a few more drawers to put under the bottom shelf for the rest of my flats.  I love that I was able to sort them all out by color - it makes finding the pair I want a snap!  The basket holds my house shoes which I should really just get rid of since I have lived in my Ugg ones that I purchased in May!  I don't typically keep shoe boxes but these 2 hold "special" shoes - my Kate Spade wedding shoes and then dressy Badgley Mischkas.

I'm trying to be conscious of how many shoes I have and the limited amount of space -- as I purchase new ones I'm trying to purge the ones I don't wear.  I do have a few pair of boots that I slide under my hanging tops on the other side of the closet and hubby keeps his shoes in the garage if you're curious.  Thanks for stopping by! 

Wednesday, July 16, 2014

Wedding Card Preservation

It's been a year since our wedding and I'm still trying to figure out how I want to preserve some of our keepsakes, cards and mementos.  It's mind-blowing that we've already been married 13 months!  This past weekend I spent some time and finally tackled the stacks of wedding cards that have just been collecting dust in my scrapbook room and here's what I did... 

These are mostly the cards from the actual wedding - all of the shower cards, etc were already sorted out.

I utilized the 12x12 envelope pages from the Project Life collection - LOVE these - and sorted the cards into cards from the actual wedding day guests and cards from gifts that were mailed to us before/after the wedding. 

Voila!  The envelope seals nicely and the cards lay so flat in the envelope and are protected from dust, getting folded, etc.  Plus, there's a pocket on the front if you want to slide a 4x6 card in it to journal/label what's in the envelope.
Here's a side shot of my 3 envelopes.  I plan to add some more envelopes to this binder and make it more of the thicker items I want to keep from the wedding so I don't make the actual picture scrapbooks of the wedding/pre-wedding to thick. 
You can see in this view here there's a smaller size envelope in the front of the larger 12x12 ones - I put the cards Adam and I exchanged before the wedding in here just to keep them separate.
Love the end result!  This has been a great way for me to store cards, larger items and I can totally see using this for baby cards, etc in the coming years.  

What did you do with all your wedding cards?  Any fun ideas out there to share?

Wednesday, April 23, 2014

Quick Clean-Out

Just dropping by to share a quick clean-out project from last night!  It seems like I have great plans to go home after work and clean-out different areas that have gotten out of hand but then when I actually make it home cleaning out is the last thing I want to do!  I'm planning to have a yard sale in two weeks so I'm trying to slowly make my way through the areas of our house!  Last night I tackled 3 areas - coat closet, cabinets in the keeping room and under my bathroom sink.  

Here's the awful/messy before:

 And the after! 


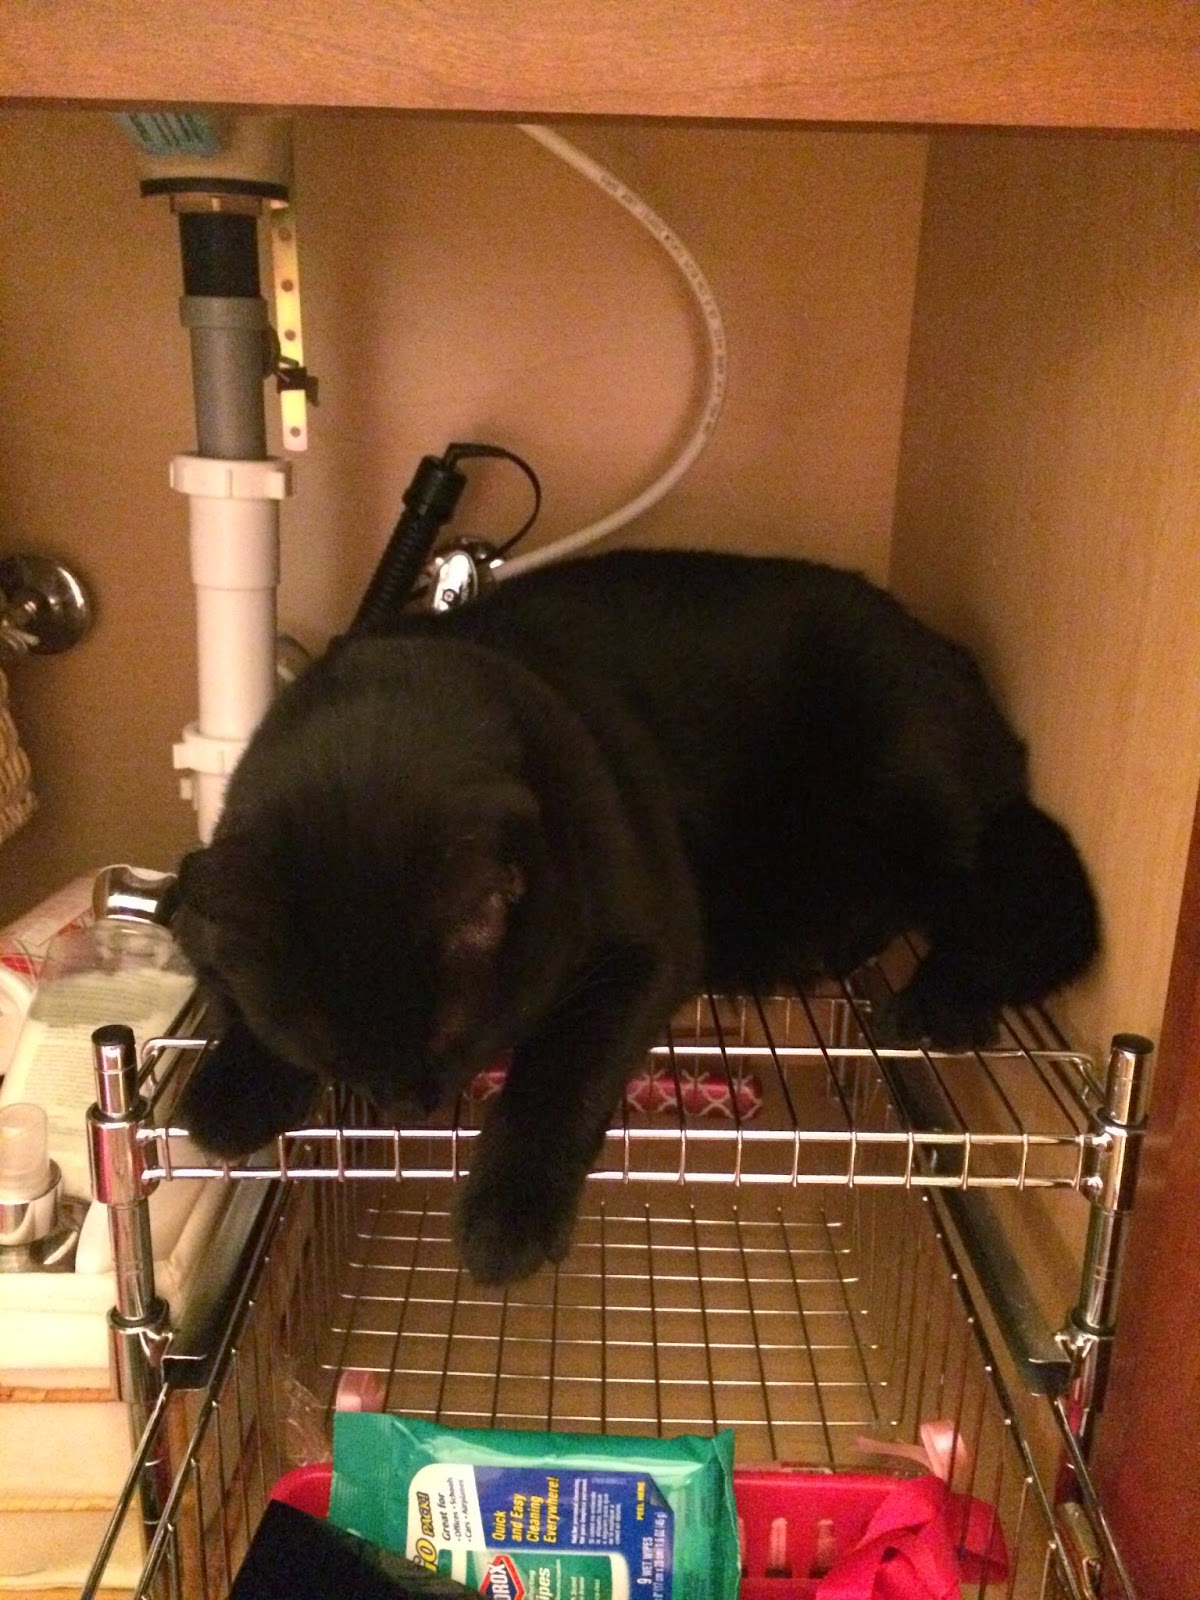
That whole top shelf on the right is hair products that have been accumulating!  Anyone else have one of those baskets?!  The space in front of the hair products holds a basket with all my "daily" items (deodorant, make up remover, toothbrush, toothpaste, etc) and I pop it back in after I get done using it each day.  The bottom drawer has clear containers that hold nail polishes, extra make-up remover products and travel size removers and in the front are all the samples I get from Sephora, etc.  I LOVE clear containers.  I'm on a mission to slowly replace all my baskets and bins with the clear ones from Bed Bath and Beyond and the Container Store. 

Hope you're all having a great week!


My little organizing buddy is always a huge help!

Monday, December 16, 2013

Mission Project Generation -- Step 1: Sort/Organize Photos

After many months of discussions/begging my grandmother, she finally agreed to a little family history project!  She has so many stories of growing up and about her 50+ years of marriage to my grandpa that I really want to get these stories captured for future generations to enjoy and cherish.  I put her to task of collecting pictures from all over her house and bringing those down when they came for Thanksgiving!

She arrived with 4 small and 1 large box of pictures.  The pictures include my grandma's family (parents, 2 siblings and herself, their children/grandchildren; my grandpa's family (parents, 8 siblings and himself, their children/grandchildren; my grandparent's married years and my mom, my mom's family (my dad, brother and I) and now my brother's and my families.  So, the sorting began!!!   

First, we sorted out by "family" -- my grandpas, grandmas, their life together and then my mom's.

 Many, many stacks were created! 


 Once we got the pictures into their right stacks, we sorted those by family member.  So for my grandma's pictures we started with:
1) Her parents or their families
2) My grandmas years from birth-marriage
3) Grandma/Pa married  (mom's birth-marriage became another stack/section)
4) Section for her sister and her family (husband, kids, grandkids)
5) Section for her brother and his family (wife, kids, grandkids)

Each of these stacks were put into chronological order and then re-stacked. 

We had stacks EVERYWHERE!!!  It started getting overwhelming so we made a list of what order made sense to us and where things should fall and then we had a reference point whenever we started veering off course.  

All of the stacks/boxes have relocated to one of the spare bedrooms until they're able to come back down and work some more on our family history project.  My goal is to create a mini- family Tree at the beginning of each section and then include whatever stories my grandma remembers as we go.  I've explained that we are going with simple pages/minimal embellishments for several reasons... a) volume of pictures b) I believe the stories/history/memories are more important at this point c) a lot of the pictures are too aged/small to do much with d) a lot of the pics from when Chip and I were born (1980s) are already scrapbooked!

What's your tips and tricks for recording the past??  Do you have boxes of pictures around the house like we started with??